Documentation
Configuration

Configure Your Docs Site
To configure your site you can access on _data/metadata.js and open file with code editor.
SEO Setup
For first let we setup your SEO , such title, description , favicon , and logo for your site.
Don't forget , for media such image , video ,pdf and others file you need to upload on content/media , next you can simply add your media in to frontmatter.
	title: "Your title in here...",
	url: "Insert your domain url",
	language: "en",
	description: "Description about your docs site here...",
	image: "Your image in here...",
	favicon: "/media/img/dockarlogo.png",
Widget Area
On this project you can activate or deactivate widget, such footer, social icon, and pagefind search functional.
To activate you can change widget to be true
To deactivate widget you can simply change widget to be false
	show_social_icon: true, // change false if you do not want to show social icon navbar
	show_footer: false, // change false if you do not want to show footer
	show_search: true, // change false if you do not want to show search widget
Search Widget
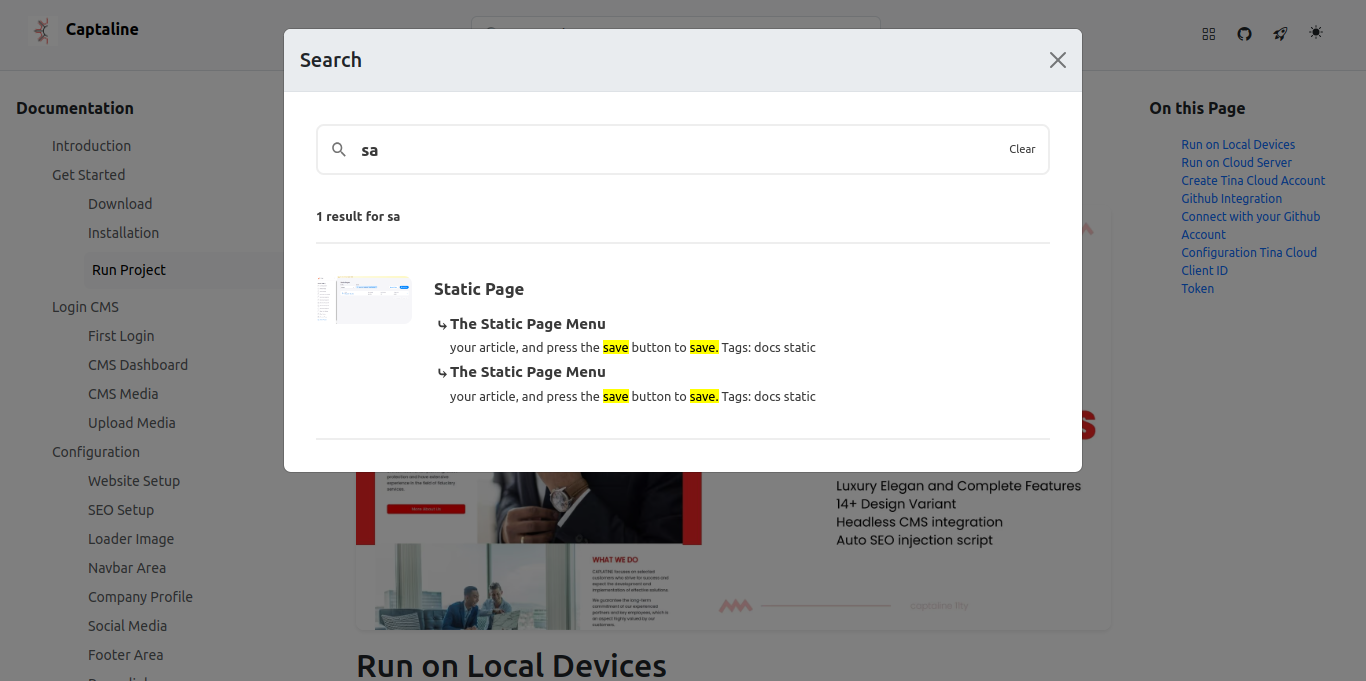
If you want to customize the placeholder and search title, you can change the code on this line.
    search_widget: {
                        nav_title: "Change Text for your placeholder search widget here...",
                        modal_title: "Change text for your modal search title in here..."
                    },
Github Collaborators
Dockar allows you to create collaboration for your project, first you need to add your github repo project. To use this feature you need to enable it on your document page for collaboration.
Add your github repo on this line code
    github_project: {
                        repo: "https://github.com/user/yourrepo",
                        branch: "add your repo branch here.."
                    },
Navigation Area
To change nav page area you can access this line code, and customize it.
	nav:
          [
            {
        		name: "Home",
		        link: "/"
	         },
            {
        		name: "About",
		        link: "/about/"
	         },
            {
        		name: "your navbar title...",
		        link: "insert url page link here.."
	         }
        ],
Social Icon
After your have enable social icon, now you can change social icon area, you can access this line code, and customize it.
Insert title, and to change icon you can see on bootstrap icon → , next you can insert bootstrap icon, example <i class="bi bi-airplane"></i> just copy and insert this code alphine in to icon frontmatter.
	social:
            [
             {
        		title: "Github Repo",
        		icon: "github",
		        link: "https://www.github.com/mesinkasir/dockar"
	         },
             {
        		title: "Visit Main Site",
        		icon: "rocket-takeoff",
		        link: "https://captaline.pages.dev/"
	         },
           ],
Footer Menu
If you have activate footer widget - make it true, next you can update your footer area. Search this line code
	footer:
            [
             {
        		title: "Get Start",
        		nav: [
                        {
                            name: "Download",
                            link: "/doc/getstart/download/"
                        },
                        {
                            name: "Installation",
                            link: "/doc/getstart/install/"
                        },
                        {
                            name: "Run Project",
                            link: "/doc/runproject/"
                        }
                     ]
	         },
             {
        		title: "New menu title here...",
        		nav: [
                        {
                            name: "Footer nav menu title here...",
                            link: "Insert url link here...."
                        },
                        {
                            name: "Footer 2 nav menu title here...",
                            link: "Insert url link here...."
                        },
                        {
                            name: "Footer 3 nav menu title here...",
                            link: "Insert url link here...."
                        }
                     ]
	         },
Website Author
Next you can update your wesbite author on this line code
	author: {
		name: "insert your name here...",
		email: "insert your email here...",
		facebook: "your facebook url here...",
		twitter: "your twiitter or x url here...",
		twitter_user: "@ your twitter user name..",
		url: "your author url here..."
	}
Tags: docs configuration docs configuration
Update At 10 September 2024 , by Axcora